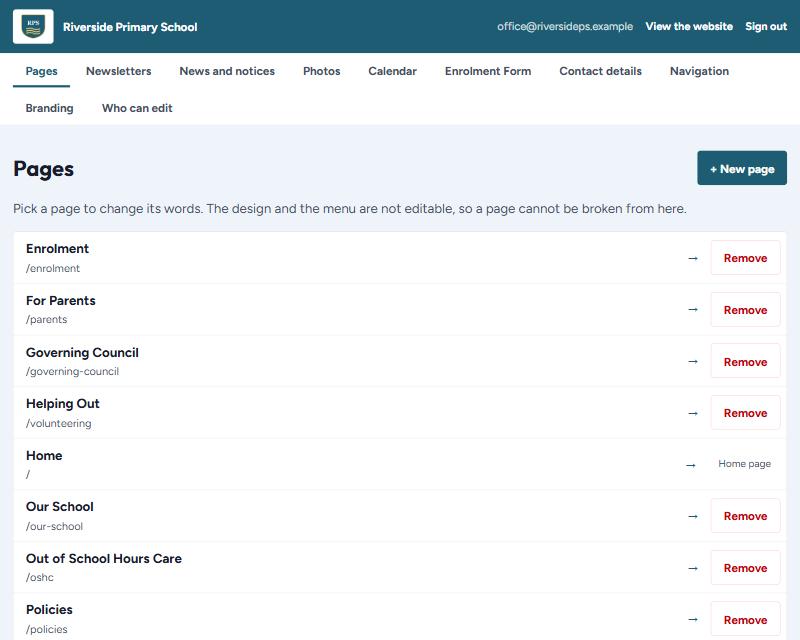
Pages holds the ordinary pages of your website: Our School, Enrolment, Uniform, and so on. This is where most of your work will happen.
Opening a page
Click the name of the page. To come back to the list, press ← All pages in the top right.
Your home page is in the list too, marked Home page. It cannot be removed, because a website must have a front door.
The page name
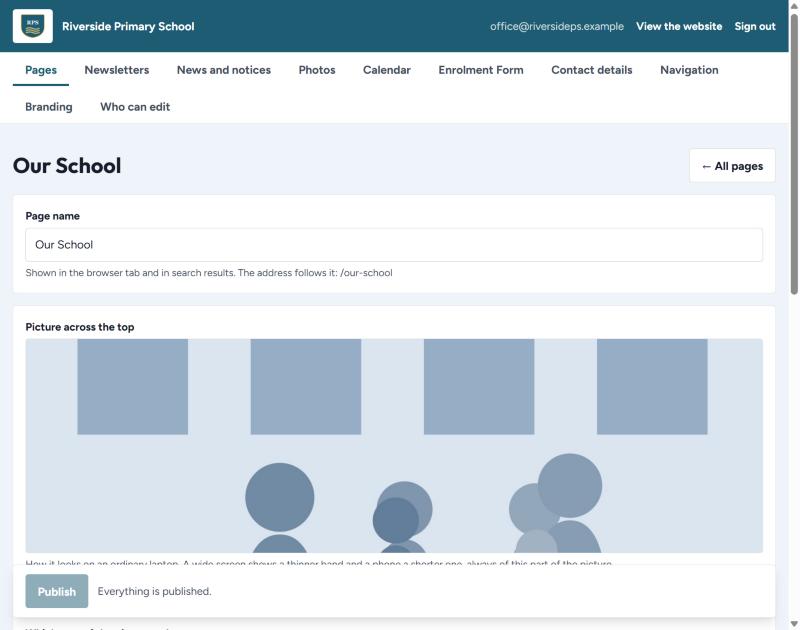
The name is shown in the browser tab and in search results. It is also what the menu says, so renaming a page renames it in the menu too.
Renaming changes the address
The web address is made from the name. If you rename
Uniform to School Uniform, the address changes from
/uniform to /school-uniform. The screen tells
you before you publish. Anyone who saved the old address will get a
page-not-found, and a link to it written inside another page will stop
working. The menu is moved for you.
Rename freely before a page is well known. Think twice afterwards.
The picture across the top
Most pages have a wide photograph across the top, called the banner. A page with no picture simply gets a shorter header, which is a perfectly good look.
Choosing a picture
- Press Choose a picture, or Change the picture if there is one already.
- Pick a tab: Pictures on the website or Your photo albums.
- Click the picture you want.
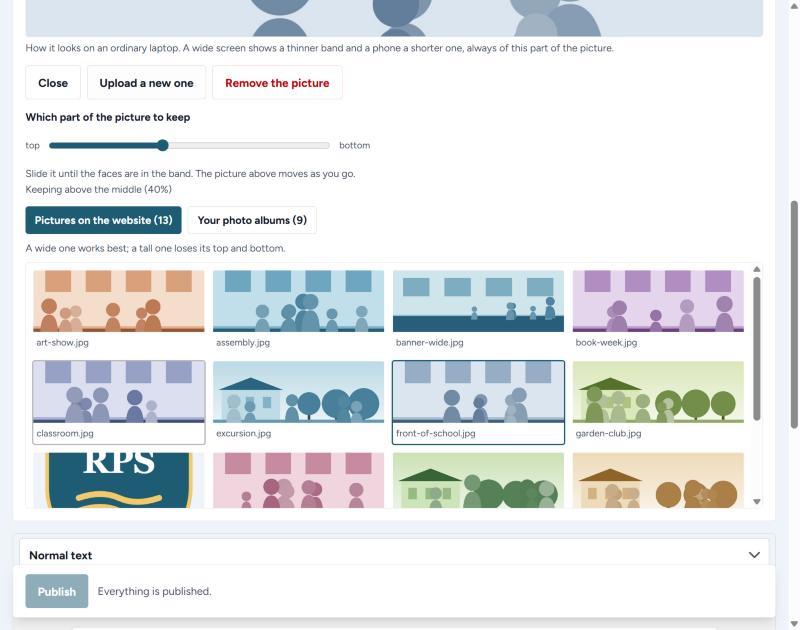
A wide picture works best. A tall one loses its top and bottom, because the banner is a wide, shallow strip.
Uploading your own
Press Upload a new one and choose a file from your computer. It joins the list, so you can use it on other pages later.
Moving the picture up and down
The banner is much wider than it is tall, so most of your photograph is cut away. The slider decides which part is kept.
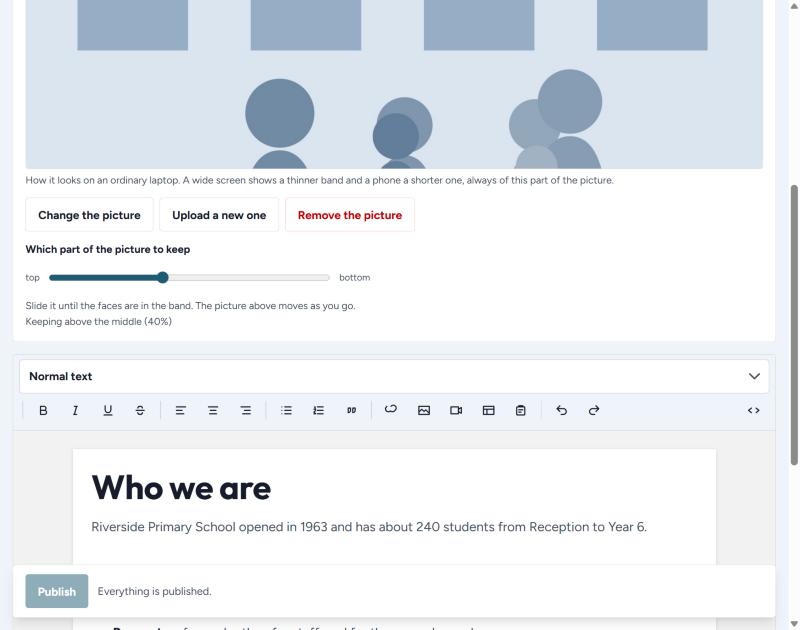
- Drag the slider left to keep more of the top of the photograph.
- Drag it right to keep more of the bottom.
- Stop when the faces are in the band.
Underneath, the screen says in words where you have landed — for example "Keeping above the middle (40%)".
If there is no slider
Some photographs are already the shape of the band. Nothing is being cut away, so there is nothing to choose, and the slider is hidden. That is not a fault.
Taking the picture off
Press Remove the picture. The page then has the shorter header. On your home page there is no Remove button, because the picture there is part of the design.
Making a new page
- On the Pages list, press + New page.
- Type what the page is called, for example School Council.
- Press Make the page.
- The page opens, empty. Write it, then press Publish.
- Go to Navigation to put it in the menu. Until you do, the page exists but nothing points at it.
Removing a page
- On the Pages list, press Remove beside the page.
- It asks "Remove it?". Press Yes, remove to go ahead, or Keep it to stop.
Check the menu afterwards
If the page you removed was in the menu, go to Navigation and take it out there too.