You type straight into the finished page. What you see is what a parent will see. There is no separate preview to remember.
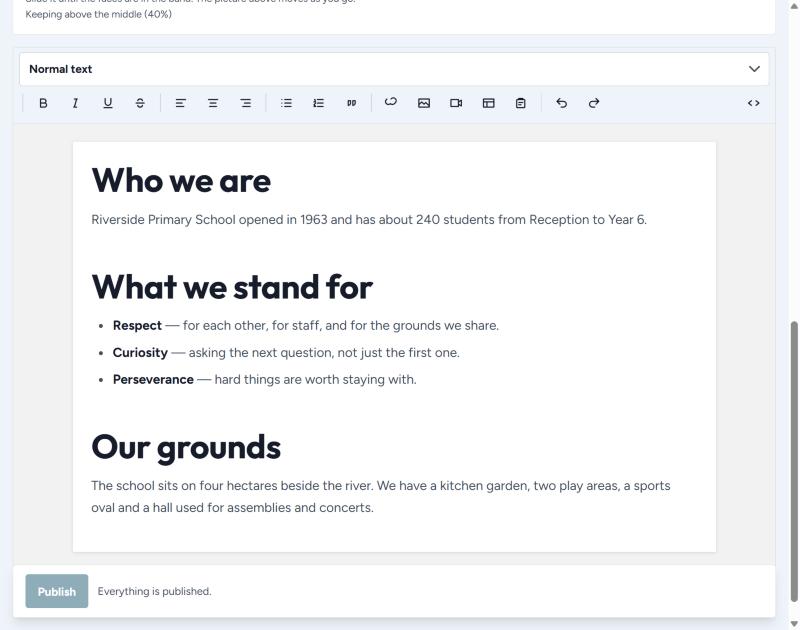
The row of buttons

There are no colour or font controls, on purpose
That is what keeps every page of the website looking like it belongs to the same school. The design is looked after for you.
Adding a link
- Select the words that should be the link.
- Press the link button.
- Type where it should go, then press Add link.
- For another page on your website, type the address part only:
/enrolment. - For another website, paste the whole thing:
https://….
To take a link off, select the words, press the link button, clear the box and press Remove link.
Adding a picture
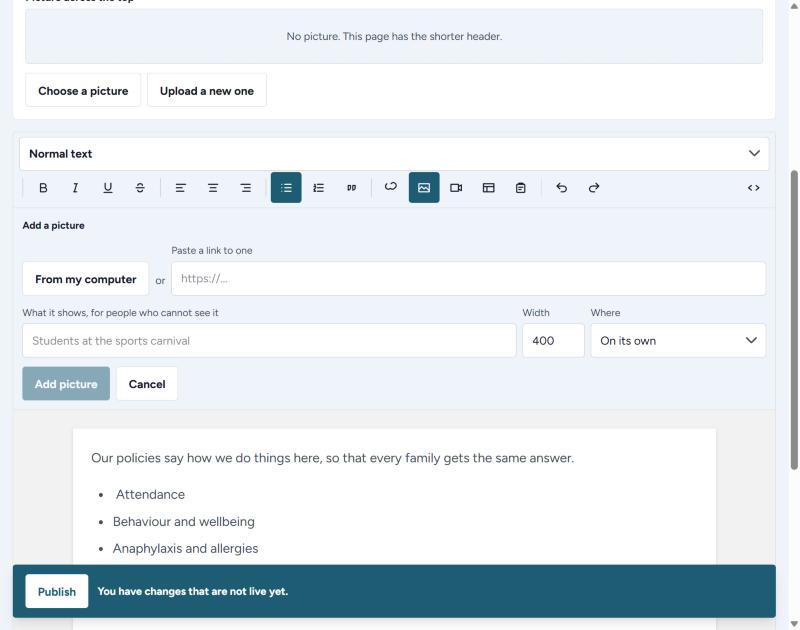
- Click in the page where you want the picture.
- Press the picture button.
- Press From my computer, or paste a link to a picture.
- Fill in what it shows. See the note below.
- Set the Width in dots. 400 is a good size beside words; 800 is large.
- Choose Where: on its own, in the middle, or with the text beside it.
- Press Add picture.
Always describe the picture
"What it shows, for people who cannot see it" is read aloud to blind visitors, and shown if the picture fails to load. Write what is happening — "Students planting in the kitchen garden" — not "photo" or the file name.
Adding a video
- Press the video button.
- Paste the link you see in your browser when watching it. YouTube and Vimeo both work.
- Say what the video is, for people using a screen reader.
- Press Add video.
You can also press Upload a video file to put a video of your own on the website. Keep those short — a long video is a very large file.
Adding the enrolment form
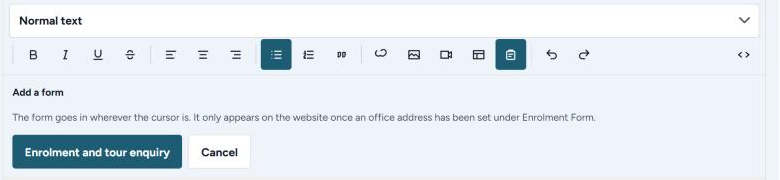
- Click in the page where the form should sit — usually at the bottom.
- Press the form button.
- Press Enrolment and tour enquiry.
It needs an office address first
The form only appears on the real website once an email address has been set under Enrolment Form. See section 11.