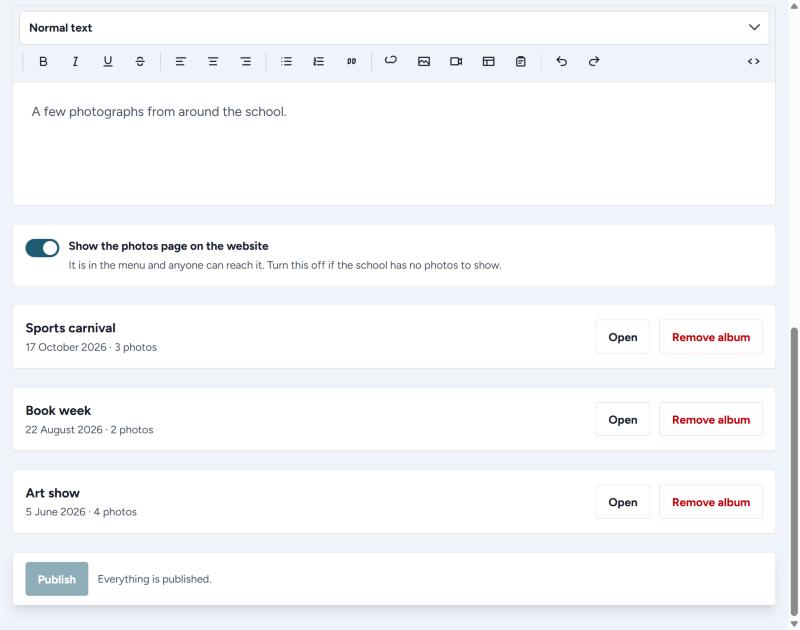
Photographs are kept in albums. One album per event works well.
Making an album and adding photographs
- Press + New album.
- Give it a name and the date of the event.
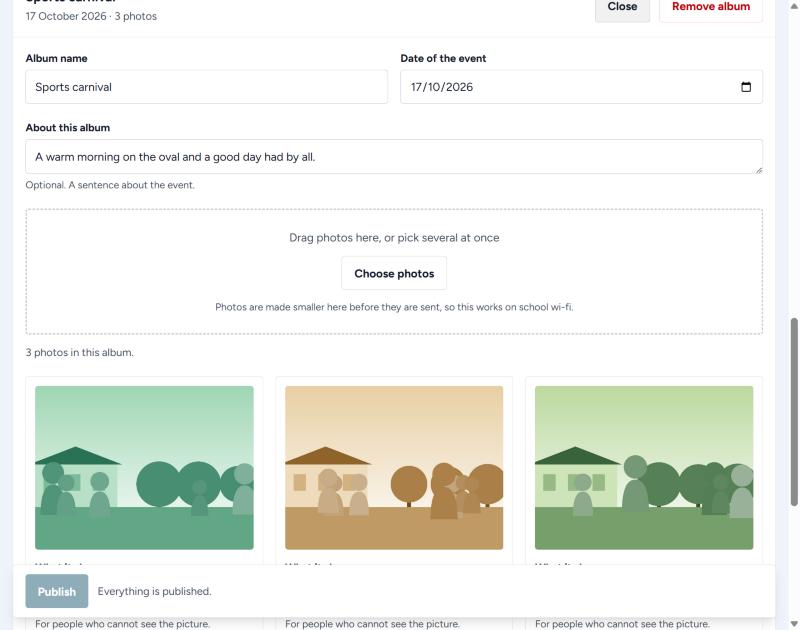
- Add a sentence about it if you like. This is optional.
- Drag your photographs into the dotted box, or press Choose photos and pick several at once.
- Wait while they upload. It counts them off as it goes.
- Press Publish.
You do not need to shrink them first
Photographs are made smaller in your browser before they are sent, so this works on school wi-fi and you can upload straight from a camera or phone.
Describing each photograph
Under each one is a box: What it shows. Fill it in for people who cannot see the picture. One short sentence is plenty.
Switching the page off
Show the photos page on the website takes the whole photos page off the site and out of the menu. Your albums are kept, and come back the moment you switch it on again.
Before you put children on the web
Check your school's photograph permissions first. Once a picture is on a public website it can be copied, and taking it down later does not undo that.